Improving performance is one of the most important parts of building modern Laravel applications. When your project needs to send emails, generate reports, upload files, or process heavy tasks, you don’t want users to wait for everything to finish. That’s when queues come in.
In this guide, you will learn everything about how queues work with a simple and practical Laravel queue job example that you can use for your real projects. This tutorial is beginner-friendly and walks you through every step clearly.
Table of Contents
Why Use Queues in Your Project?
Queues are designed to make your application faster, smoother, and more responsive. Instead of forcing users to wait while your system handles heavy tasks, queues push that work into the background so your app can continue running instantly.
They are extremely useful for handling tasks such as:
- Sending emails
- Processing images or large files
- Generating PDF reports
- Importing or exporting big datasets
- Sending real-time notifications
- Calling slow or external APIs
- Printing ordered items to a kitchen printer immediately after a customer places an order
Throughout this tutorial, you’ll see a practical Laravel queue job example that shows exactly how queues help improve performance and keep your application scalable as it grows.
Step 1: Create a New Laravel Project
Open your terminal and create a new Laravel project:
You’ll first run:
composer global require laravel/installer(You only need to run this once globally).
Then you can run this command to get the interactive experience and create your project.
laravel new laravel-project-nameGo to the project folder:
cd laravel-project-nameRun the migration command
php artisan migrateThen start the Laravel development server:
php artisan serveAfter that, open another terminal and run these commands:
npm installnpm run devVisit http://localhost:8000 — you should see the Laravel welcome page.

Step 2: Set Up the Queue Driver
Before you run your first job, you need to set up the storage system where queued jobs will be kept. This is known as a “queue driver.”
For beginners, the database driver is the easiest option because it works everywhere—no extra installation needed.
1. Change the queue driver in .env
Open your .env file and change this to:
QUEUE_CONNECTION=databaseThis tells Laravel not to run jobs immediately but instead store them in the database.
2. Create the jobs table
Laravel needs a table to hold queued jobs.
Run:
php artisan queue:tableThen run the migration:
php artisan migrateNow your database has a new table named jobs where tasks will be stored.
Your queue system is ready!
Since the Laravel 12 queue system defaults to the
databasedriver, you can skip configuration for this step.
Step 3: Create Your First Laravel Job
Now let’s create a job using the built-in Artisan command.
Run:
php artisan make:job SendWelcomeEmailThis creates a file in:
app/Jobs/SendWelcomeEmail.phpInside this job, you will place any heavy logic you want to run in the background.
For our Laravel queue job example, imagine sending a welcome email to a new user.
Modify the handle() method:
use Illuminate\Support\Facades\Log;

public function handle(): void
{
    Log::info('Welcome email sent in the background!');
}
This lets us test the queue system without needing to send a real email.
Step 4: Dispatch the Queue Job
Next, you need a place to trigger (dispatch) the asynchronous job. A simple way to test this is by defining a route that executes the job’s dispatch method.
You will add the following code to your application’s route file, typically located at routes/web.php. Make sure to import your Job class at the top of the file.
use App\Jobs\SendWelcomeEmail;
use Illuminate\Support\Facades\Route;
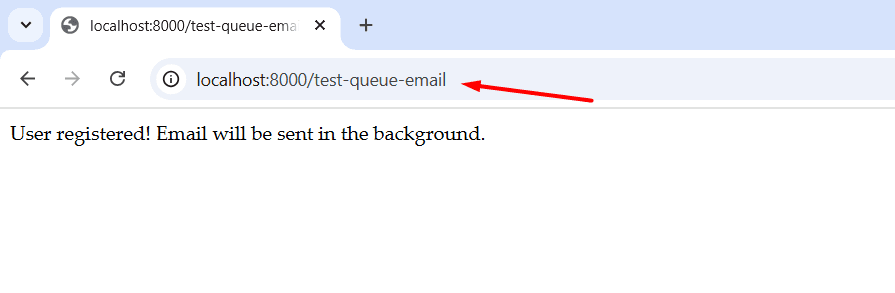
Route::get('/test-queue-email', function () {
dispatch(new SendWelcomeEmail());
return "User registered! Email will be sent in the background.";
});When this method runs, your job is added to the queue and will be processed by a worker.
This completes your core Laravel queue job example.
Step 5: Run the Laravel Queue Worker
The queue worker listens for jobs and processes them one by one.
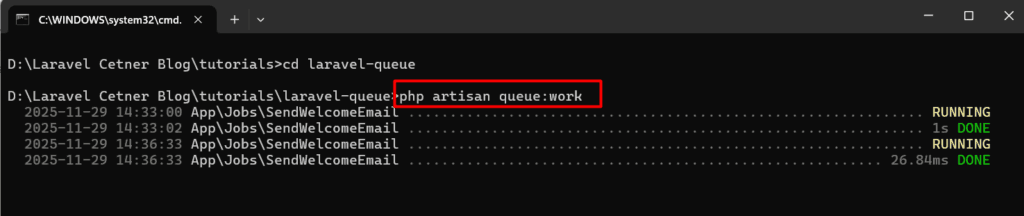
Start it with:
php artisan queue:workYou should now see something like:
[processing] SendWelcomeEmailEvery time you trigger the controller, the queued job will run in the background.
Final Step: Running and Testing Your Project
To test your project, run the Laravel server:
php artisan serveIf your project also uses Vue.js, run the frontend in a separate terminal:
npm run devAfter both are running, open your browser and visit:
http://127.0.0.1:8000/test-queue-emailMake sure all pages load and your features work as expected.
Visit the link we have setup in route
Laravel will add the job to your jobs table
The queue worker will automatically pick it up
You’ll see a message in storage/logs/laravel.log
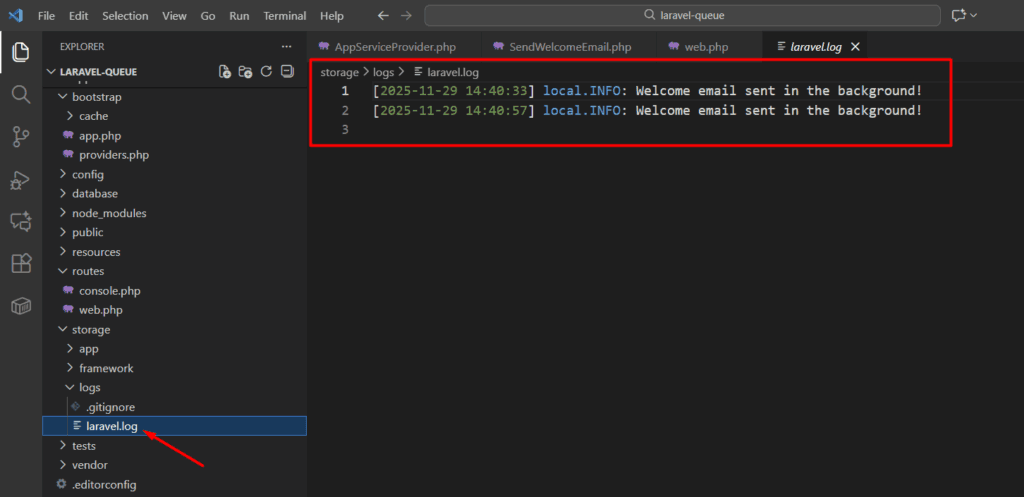
This proves your queue system is working correctly.
Handling Failed Jobs
Sometimes jobs fail due to email errors, API delays, or network issues. Laravel provides a built-in system to track failed jobs.
Enable failed job logging:
php artisan queue:failed-table
php artisan migrate
View failed jobs:
php artisan queue:failedRetry them:
php artisan queue:retry allThis ensures your Laravel queue job example is reliable even in real production environments.
Conclusion
Queues are one of the most powerful features in Laravel. With this beginner-friendly Laravel queue job example, you’ve learned how to set up the queue driver, create a job, dispatch it, run the queue worker, and handle failed jobs.
Now you can confidently move heavy tasks to the background and make your Laravel application faster and more efficient.
If you want to explore more about Laravel Tutorial, you can check it out here.
What is a Laravel queue job example?
A Laravel queue job example shows how to move heavy tasks like emails or image processing to background workers by creating job classes, dispatching them, and running queue workers.
Which queue driver should I use for production?
Redis is a fast, reliable driver commonly used in production. Database driver is fine for small projects or testing, but Redis offers better performance for high throughput.
How do I handle failed jobs in Laravel?
Laravel provides a failed_jobs table, retry commands, and notifications. Configure the failed job provider, inspect failed jobs with artisan commands, and set up monitoring and automatic retries in your worker supervisor.